- Home
-
Categories
- Car Diagnostic Tools
- Original Brand Tools
- Car Key Programmers
- OBD2 Code Scanners
- Truck Heavy Duty Scanners
- ECU Chip Tuning Tools
- Odometer Correction Tools
- VAG Diagnostic Tool
- Original Launch X431 Tools
- Original Autel Tool
- Original Xhorse Tool
- Key Cutting & Locksmith Tools
- Airbag/Service Reset Tools
- OBD2 Cables and Connectors
- AUGOCOM Camshaft Engine Timing Tool
- Other OBDII Vehicle Tools
- Car Key Blanks
- Car Key Chips
- Car Diagnostic Software
- Automotive Electrical Testers & Test Leads
- Auto HID Xenon Light and LED Light
- Automotive Electronics
- Repair & Maintenance Tools
- MB Star Diagnostic Tools
- Health Care
- Special Deals
- Consumer Electronics
- Home & Garden
- Outdoor
- Expired Tools
- Top Selling
- New Arrivals
- for MB
- for Porsche
- Xhorse
- for TOYOTA
- for FORD
- Order Tracking
- Drop-ship
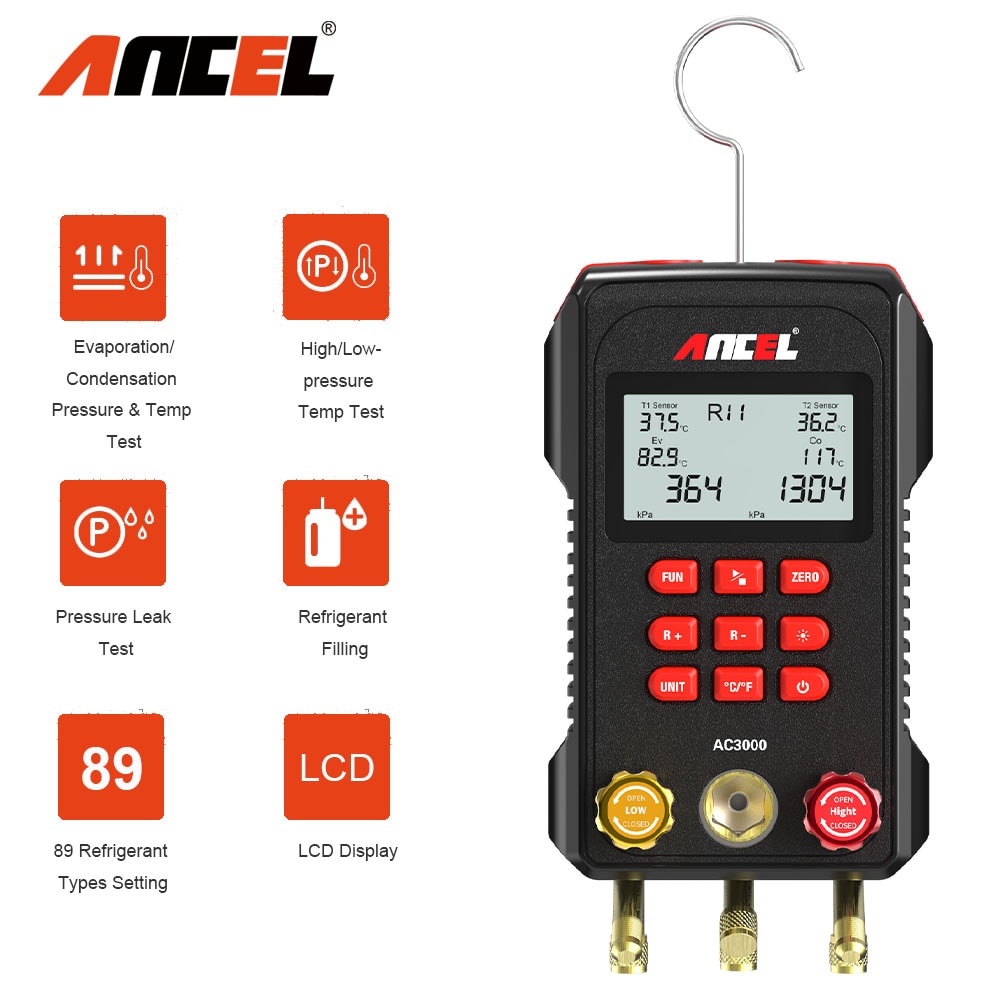
ANCEL AC3000 Manifold Digital Meter High Low Pressure Temperature Gauge Vacuum Pressure Leak Test Air-Condition
- Shipping:
- Express Shipping Service
Estimated delivery time: 3-15 working days.See details » - Returns:
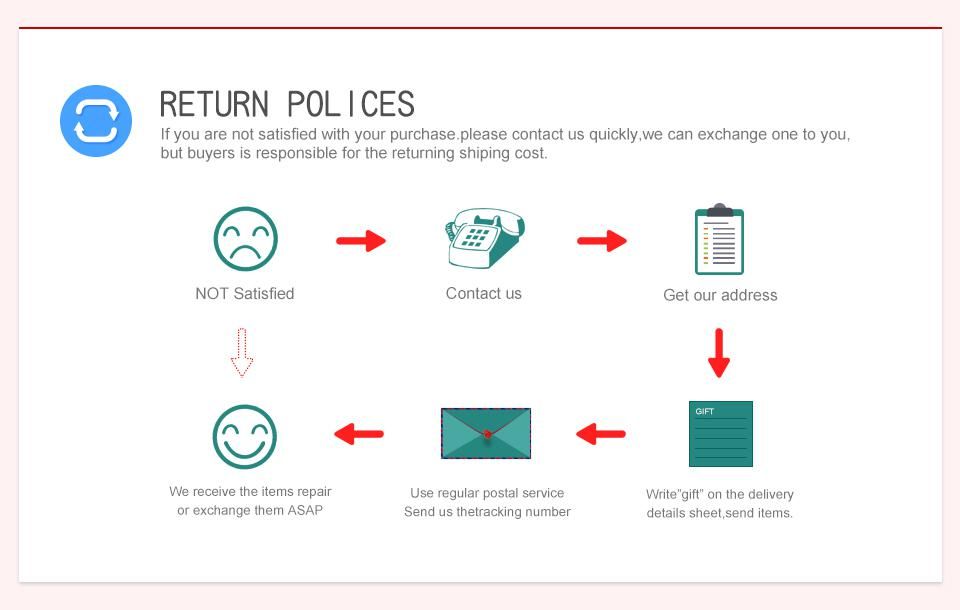
- Return for refund within 7 days,buyer pays return shipping.Read details »
- Support:
-
 Online Chat
  WhatsApp
  Skype
Skype  Ask a question
- Product Details
- Product's Reviews
- Write a Review
- Related Products
Battery is not included in the package due to transportation reason.You can buy this battery directly in your local store, very convenient, cheap, please understand, thank you (four 1.5v Alkaline batteries)
1.Pressure and Saturation Temperature
2.Vacuum Operation
3.Pressure Leak Test with recording
4.Direct T1 T2 Temperature, Real-timeSuperheat and Subcooling Simultaneously Display with Optional Two Clamp-onTemperature Probes
5.89 Refrigerant Profiles Stored in The Instrument
6.Automatic Multi-unit Pressure Conversion
7.Automatic Temperature ℃/℉ Conversion
It is the right one you have to do the job right.

1. Turn off the blue valve and red valve.
2. Turn on the instrument. Then verify that LCD displays the status of the pressure test.If not,press the function button to switch it.
3. When the instrument is turned on, theremay be 10 digits in the high and low pressure display area. At this time, press the zero button long until it returns to zero.
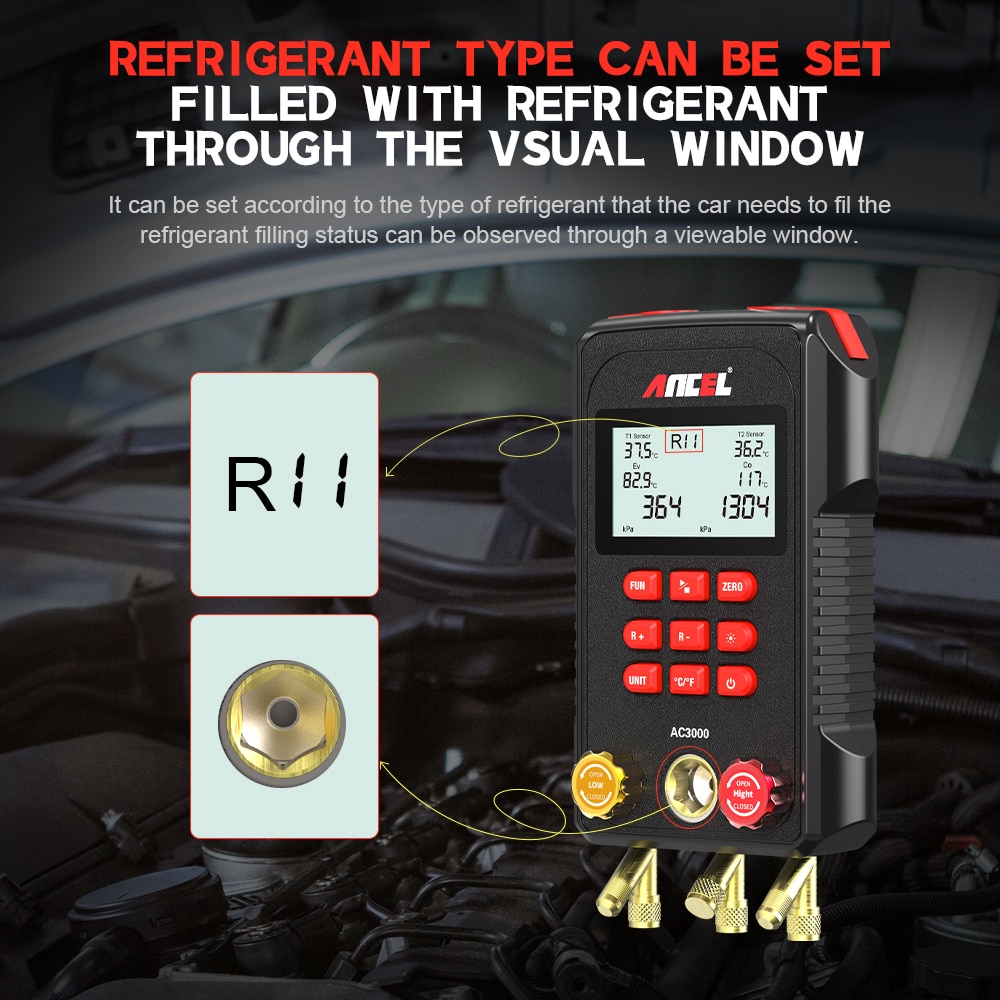
4. Press R+/ R- buttons , Unit button and ℃/℉ button to select tested refrigerant and reading display respectively.
5. If the clamp-on temperature probes havebeen connected to the instrument, the real-time temperature will be displayed.If not, no display of it.
6. Connect the instrument to the refrigeration system according to thechart below.
7. Turn on the refrigerant valve and gently press the pressure release valve to vent the air in the connecting hose.
8. When the refrigeration system stops, turnon the high pressure valve (red valve) and fill with a certain amount of refrigerant and then shut the valve quickly.
9. Run the refrigeration system, turn on the low pressure valve (blue valve), and fill with the refrigerant into the refrigeration system.
10. After the filling is completed, shut the low pressure valve (blue valve) and refrigerant valve. Let the refrigeration system running.
11. Shut down the refrigeration system,make sure all valves are turned off , then disconnect the instrument between refrigeration system and source. Do not remove the high pressure valve connection until the pressure drops to the safe point. Then turn off the instrument.


The filling operation of different equipment or refrigerants may vary. Please read carefully the relevant specific operation requirements for filling operation,so as to avoid damage to user or equipment caused by improper operation! ! !
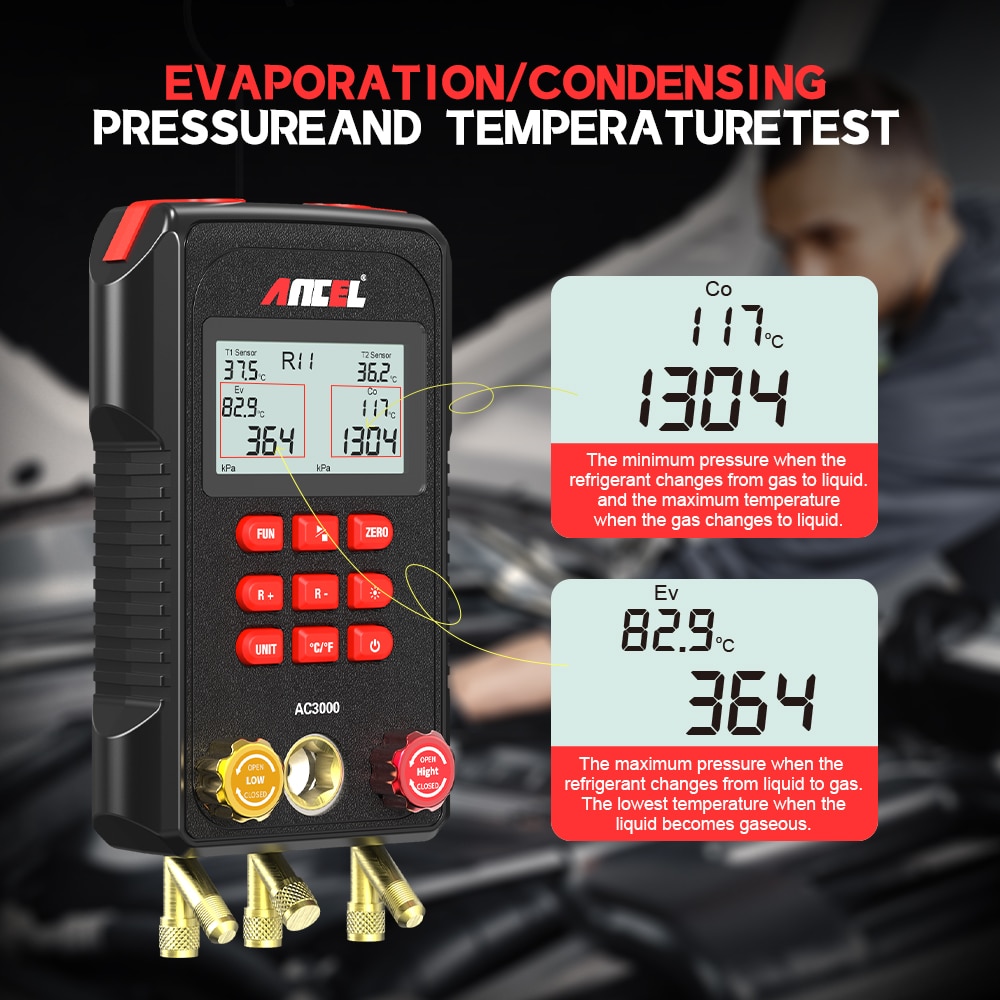
1.The instrument can display the corresponding Evaporation Temperature(EV) and Condensation Temperature (CO) during the refrigerant pressure test
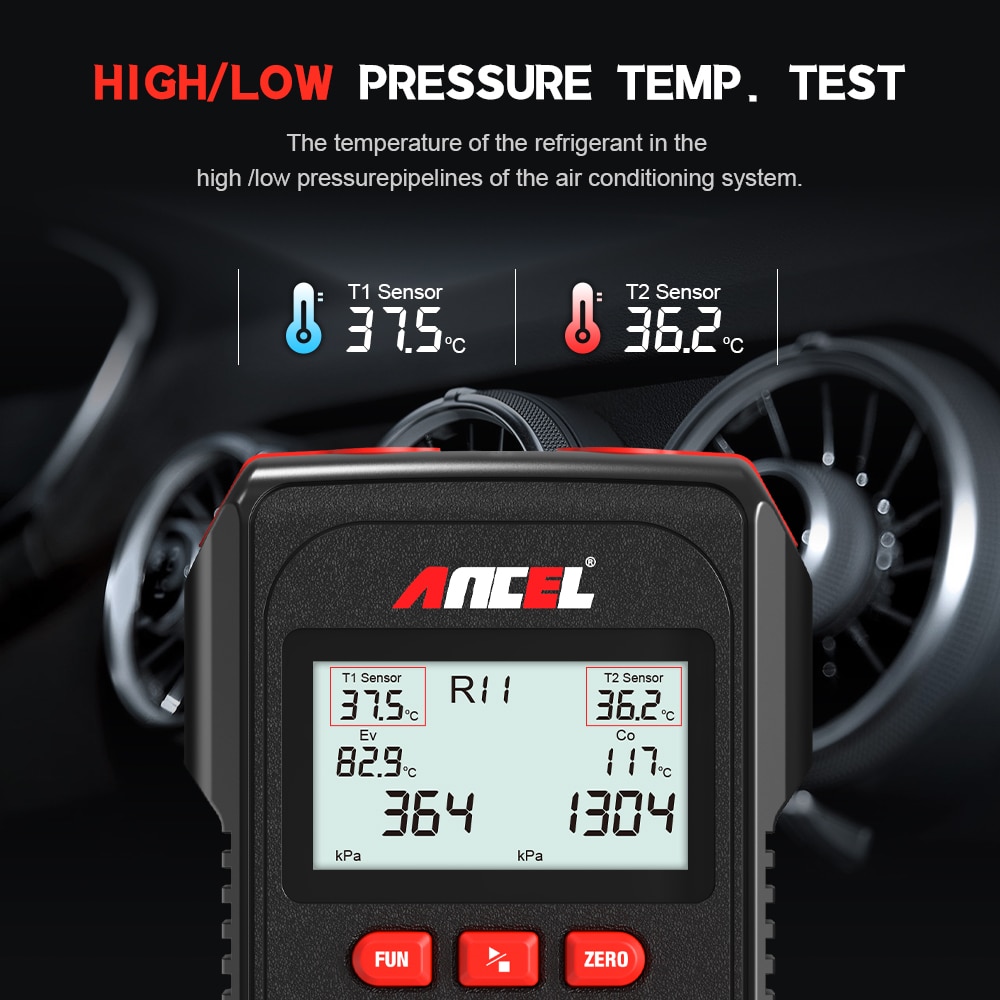
2.If the clamp-on temperature probes are connected to the instrument, LCD will display the real-time temperature in the spot T1 Sensor and T2 Sensor.Please make sure clamp-on temperature probes are connected as step 6 and contacted fully to the refrigeration pipes.
3.The instrument can calculate the SH-Superheat and SC - Subcooling as long as the tested refrigerant ispreset and clamp-on temperature probes are connected well.
1. Turn off the blue valve and red valve.
2. Power on the instrument. Then make surethe LCD displays vacuum test status.If not, press the Function button to switch it.
3. When the instrument is turned on, there may be 10 digits in the high and low pressure display area. At this time, press the zero button long until it returns to zero
4. Press the unit button to adjust the reading unit.
5. Connect the instrument to the refrigeration system.(Connected clamp-on temperature probes will not affect the operation.)
6. Turn on the blue valve and red valve, andstart the vacuum pump.
7. After the vacuum operation is completed,turn off the blue valve and red valve, then shut the vacuum pump. At this time,pressure leak test mode can be used to check leakage in the system ( Please refer to Pressure Leak Test).


1. The instrument is powered on with the blue and red valves turned off.
2. Press the Function button to pressure leak test mode.The current pressure value is displayed at lower rightcorner of LCD.
3.Press the Run/Stop button to start the leak test
At this time, the lower left corner records the initial pressure value; the lower right corner displays the instantaneous pressure value; the "P" display area shows the difference between the initial pressure value and the instantaneous pressure value.
The time display shows how long the leak test will take, in hour : minute (HH:MM)format. All pressure units on the screen are the same. You can switch between the different pressure units by pressing the Unit button.

Pressure test: gauge pressure
Pressure test unit: Kpa; Mpa; bar; inHg; PSI.
Pressure test range: 0 Kpa – 6000 Kpa
Pressure test resolution: 1 Kpa
Pressure test accuracy: +/- 0.5 %(FS)+ 5dgt
Pressure overload limit: 10000 Kpa (10 Mpa; 100 bar;)
Vacuum test: relative vacuum
Vacuum test unit: Kpa; Mpa; bar; inHg; PSI.
Vacuum test range: -101 Kpa – 0 Kpa
Vacuum test resolution: 1 Kpa
Temperature test unit: °C (Celsius), °F (Fahrenheit)
Temperature test range: -40°C–150°C (-40°F–302°F)
Temperature test resolution:
0.1°C (-40°C–99.9°C), 1°C (100°C–150°C)
0.1°F (-40°F–99.9°F), 1°F (100°F–302°F)
Temperature test accuracy: +/- 0.5 °C + 2dgt +/- 0.9 °F + 2dgt
Built-in 89 kinds of refrigerant NIST: According to AmericanNIST standard
Power Supplies: 4 X 1.5V (SIZE.AA / LR6) Battery not include


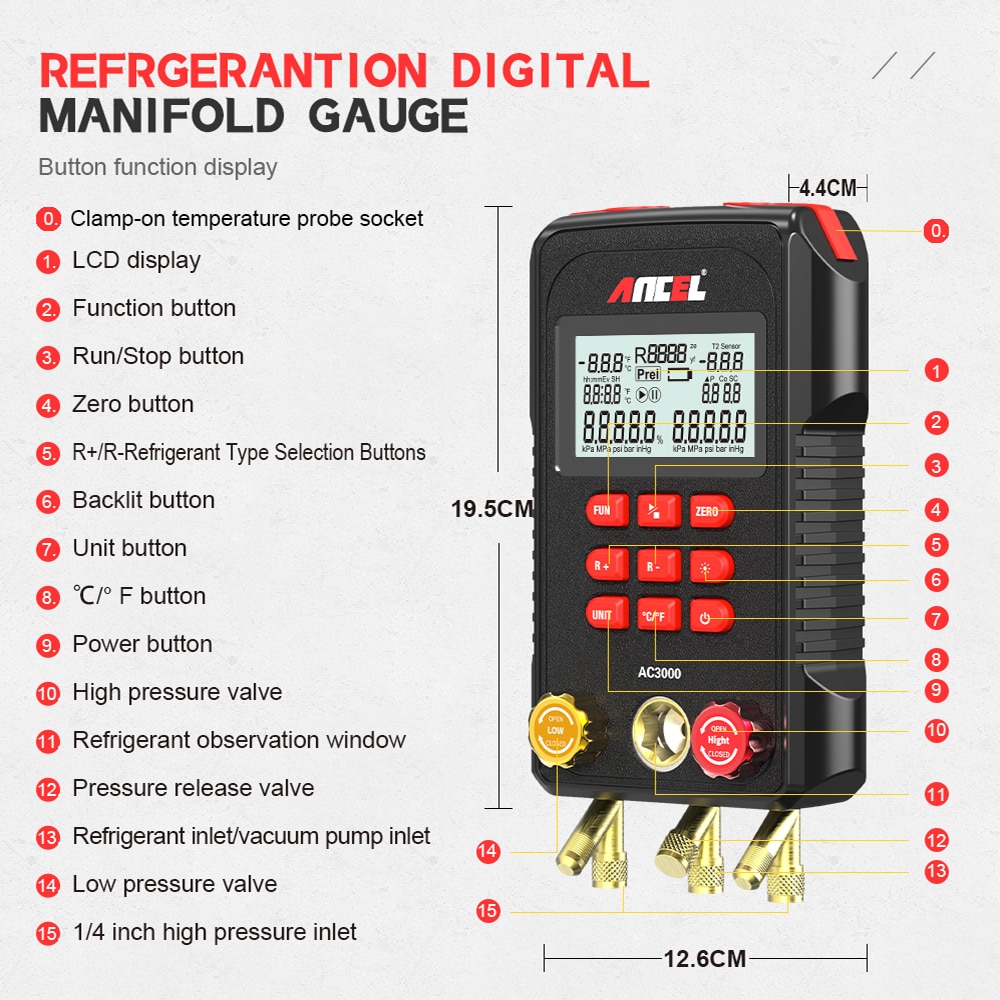
0.Clamp on temperature probe socket
1,Lcd display
2,Function Button
3,Run/Stop button
4,Zero button
5,R+/R-Refrigerant Type Selection Buttons
6,Backlit button
7,Unit Button
8,C/F Button
9,Power button
10,High Pressure Button
11,Refrigerant Obezervation Window
12,Pressure release valve
13,Refrigerant inlet/vacuum Pump inlet
14,Low Pressure Valve
15,1/4 inch high pressure inlet
1. Clean the exterior with a damp cloth. Do not use harsh solvents.
2. Keep screw connections clean and free of grease, clean with a moist cloth as required.
3. Carefully blow out oil residues in valve block using compressed air.
4. Replace the batteries when low battery power indication lights on in LCD.
Low battery power supply
The instruments has low power sign.When it is displayed , it means the battery power is insufficient. At this time, the battery should be replaced as required in order to avoid affecting normal use.
Damaged refrigerant hose orvalve stem
Please check the pipe connections and hoses before testing. If you find any damage,please replace them immediately to avoid improper use or accident.
Failure of refrigerant filling
There is a valve core in the refrigerant inlet of the refrigeration system. When connecting the instrument, pay attention the two terminals of the hoses. Connect one terminal with a core to the refrigeration system, while another terminal without acore to the instrument.
Potential leak points
1. Every hose terminal comes with a nylonpad that is limited a certain life of using.Over use or other situation will make itdefective, which result in leakage.
2. The instrument refrigerant inlet (the middle port of the instrument ) has a port with valve core , which is used to vent the air in the hoes after connecting the refrigerant to the instrument.
3. The port is equipped with a copper plug screw. It is required to tighten it every time before or after operation.
4. Check the refrigeration system's pipes and connectors




- Related Items
- Recommond Tools
- Hot Sale
- On Sale
- New Arrivals
- Freeshipping Items
-
US$79.00 / piece
-
US$579.00 / piece
-
US$449.00 / piece
-
US$749.00 / piece
-
US$129.00 / piece
-
US$14.90 / piece
-
US$129.00 / piece
-
US$39.00 / piece
-
US$389.00 / piece
-
US$249.00 / piece
-
US$99.00 / piece
-
US$749.53 / piece
-
US$22.99 / piece
-
US$674.50 / piece
-
US$389.00 / piece
-
US$98.00 / piece
-
US$6.90 / piece
-
US$489.00 / piece
-
US$22.99 / piece
-
US$794.00 / piece
-
US$39.99 / piece
-
US$94.00 / piece
-
US$24.99 / piece
-
US$22.90 / piece
-
US$6.90 / piece
-
US$409.00 / piece
-
US$79.00 / piece
-
US$1,499.00 / piece
-
US$169.00 / piece
-
US$149.00 / piece
-
US$13.99 / piece
-
US$89.00 / piece
-
US$39.99 / piece
-
US$11.99 / piece
-
US$52.99 / piece
-
US$22.99 / piece
Trending Products
- US$64.99 / piece
- US$989.00 / piece
- US$599.00 / piece
- US$79.00 / piece
- US$639.00 / piece
- US$1,699.00 / piece
 USD
USD Euro
Euro British Pound
 Australian Dollar