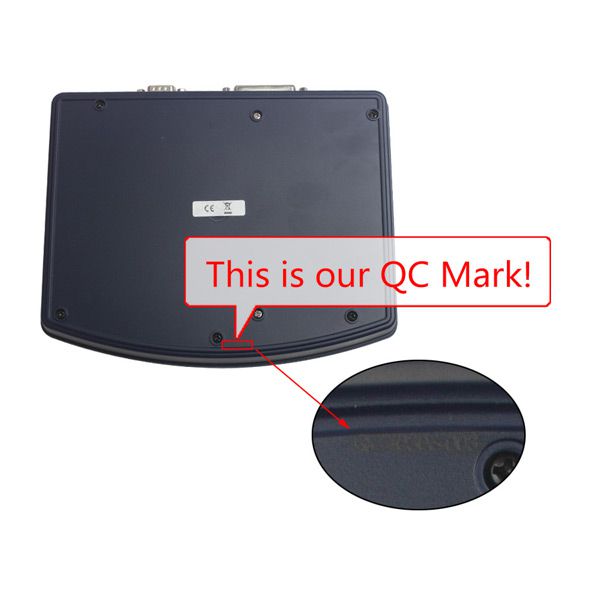
Newest V4.88 Digiprog III Digiprog3 Odometer Master Programmer Entire Kit
Top 3 Reasons to Get Digiprog 3:
1. High quality Odometer correction tool
2. Newest version: V4.88
3. Supported Languages: Deutsch/ English/ Espanol/ French/ Portuguese/ Italiano/ Turkey/ Nederlands.
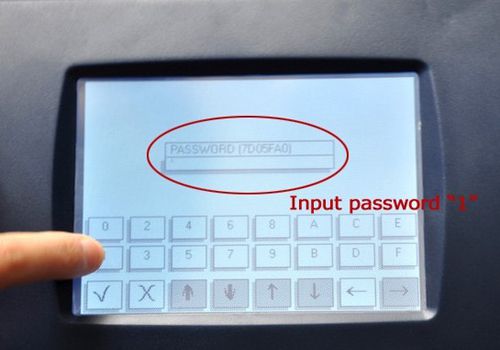
Note: When you open the digiprog 3, it will need password, the password is "1".
V4.82 Digiprog3 Vehicle List
V4.86 to V4.88 Version Newly added vehicles:
Citroen DS3 93C66 new versions & DS4 24C16
Ferrari 458/California Diag
Dacia Sandero 93C56
Kia Carens C46 new version
Seat Mii Diag
Ford Mustang 24C32
Skoda Citigo Diag
Mercedes W204 new version diag
Nissan Qashqai HCS12X new version
Nissan Pathfinder HCS12X new version
4.87 Ford Ranger 24C16
Mercedes W203 Diag new version
Mercedes SL 2012 (R231)
Mercedes A-Class 2012 (W176)
Peugeot 508
Renault Wind 93C76
Suzuki King Quad 93C56
Suzuki Swift 24C16
Subaru Imreza 93C76
VAG Marelli Diag new version
4.86 VAG Johnson Controls Diag
Audi A3 New Versions
Mercedes R230 Diag 2005-
Suzuki Alto
Kia Carens
Dodge Journey
V4.85 Version Newly added vehicles:
BMW
Citroen: C3/DS3 new versions
Dodge: Charger 24C16
VW: Diag new version
Fiat:
Fiorino 95080/ECU95320
Ducato/Punto 95160
Landrover:
Evoque 93C76
Mazda:
3 C66
Mitsubishi:
Lancer new version
Nissan:
Qashqai 2011 HCS12
370Z C86
Scenic 24c16+ABS
Important Tips for Using Digiprog 3:
Always connect the Eeprom to the ST01 or ST04 before you connect to the DigiProg this will avoid Electro static feedback (ESD).
Never solder the connections whilst the lead is connected to the programmer, this will damage the DigiProg.
Always keep your DigiProg in its case when not in Use & keep it in a dry environment at night (don’t leave it in the trunk of your car) If you are using solvents to remove lacquers’ from Eeprom’s ensure that they are cleaned completely as the solvent can damage the clips.
Digiprog 3 Menu:
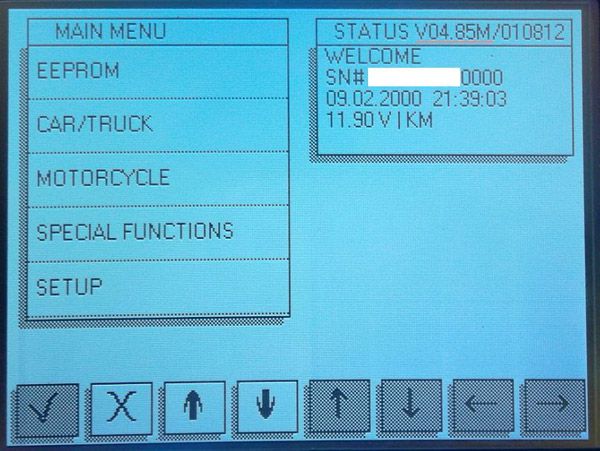
1. EEPROM menu
The first option on the main menu is the Eeprom menu. Reading, writing and saving Eeprom information is all done using this menu. A more detailed guide to using this menu follows later on in the introduction.
2. CAR/TRUCK menu
This is the menu you will use for correcting and reprogramming vehicles. Manufacturers are set out in alphabetical order and models of vehicles are set out in a simple sub-menu format.
3. Motorcycle Menu
This menu is the same as the CAR/TRUCK menu but is used for reprogramming motorcycles.
4. Special Functions Menu
The special functions menu is for use only by official DigiProg dealers.
5. Setup Menu
This menu is where settings on your DigiProg can be changed. Language, password, brightness, volume, and the time/date can all be set and changed in this menu. You can also change whether your machine is working in kilometres or miles.
Using the EEPROM menu
On some of the vehicles you will come across, an eight pin Eeprom chip will be used to store the vehicle data. These chips hold vital information from the vehicle such as ignition and immobiliser codes. Loss of this information could result in anything from minor faults, to major faults involving the vehicle not starting and having to be taken to the main dealer. This is why it is very important to read and save the original information from the Eeprom before programming, this way if any errors do occur you can always return to the point you started.
The process of reading and saving this information is very simple. The Eeprom chip itself will have a mask number printed across the top of it, for example a widely used chip is a 93C46. You can connect the chip to your DigiProg by using adaptor ST01 or ST04. Most chips are surface mount eeproms which will use ST01, but the larger DIL chips will use ST04.
Digiprog 3 Description:
Digiprog III is the worldwide leader in the production and marketing of digital speed programming and correction software. Our state of the art techniques are continuously kept up to date and our quality standards are second to none, experts in vehicle techniques, EDP machine control as well as our measurement technology has years of experience in the field of digital vehicle engineering and constantly strive to stay ahead of the competition in there field of expertise.
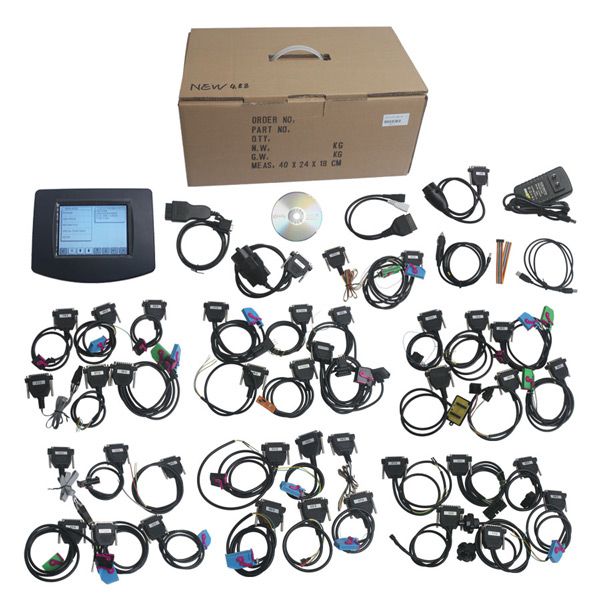
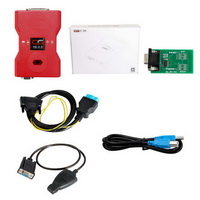
Package list:
1pc x Digiprog3 Main Unit
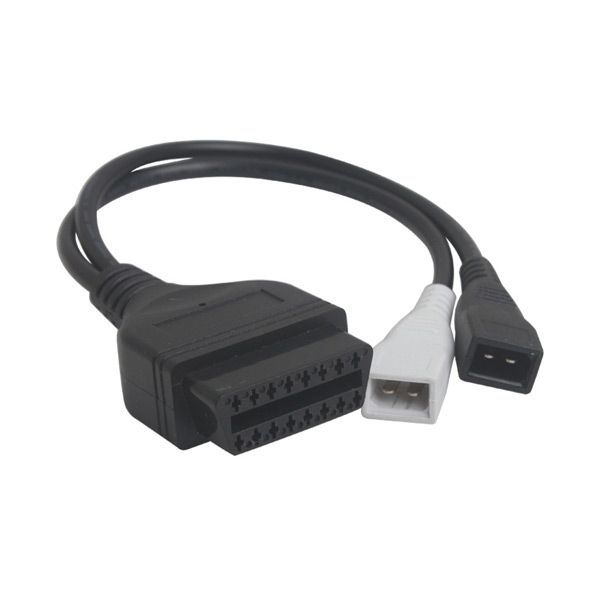
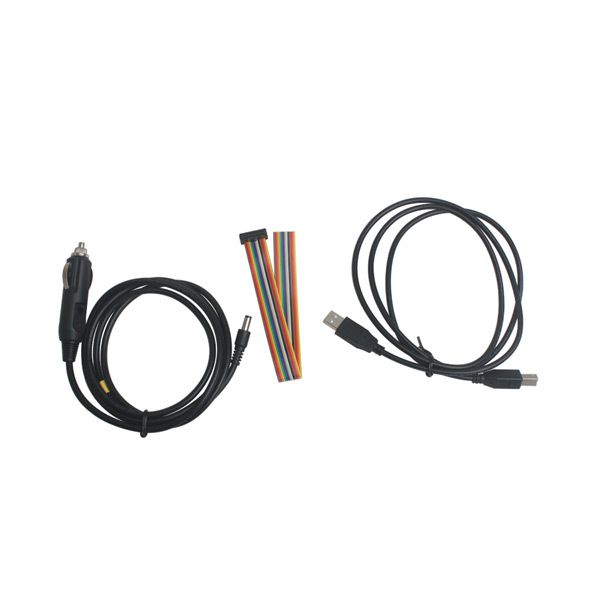
1pc x OBD2 Cable
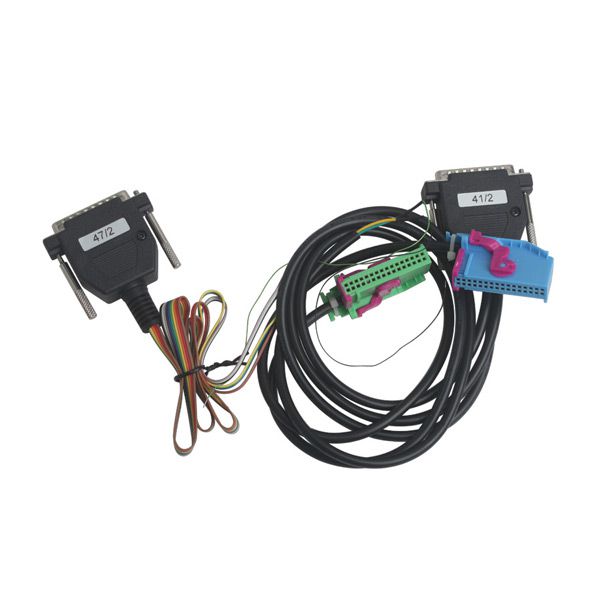
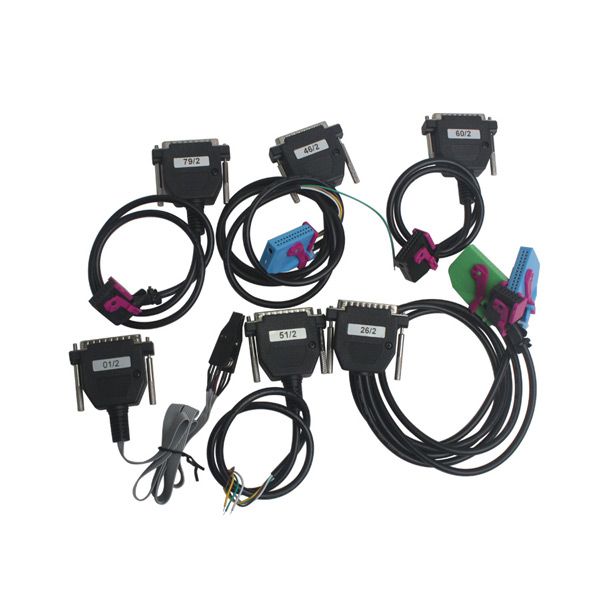
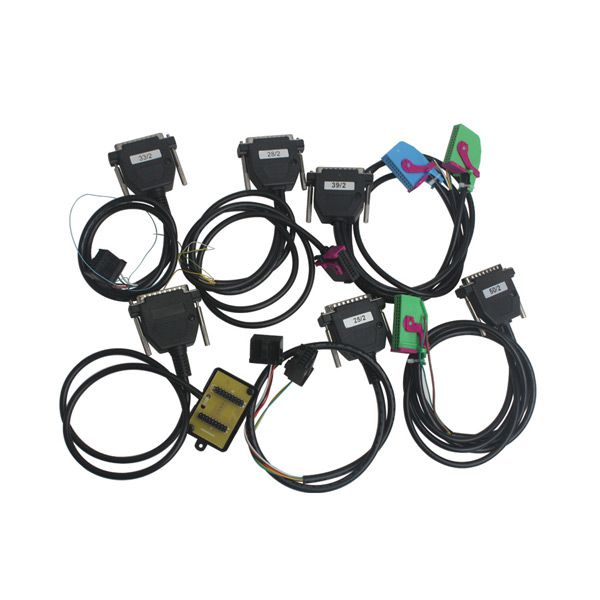
1set x Cables and Adapters
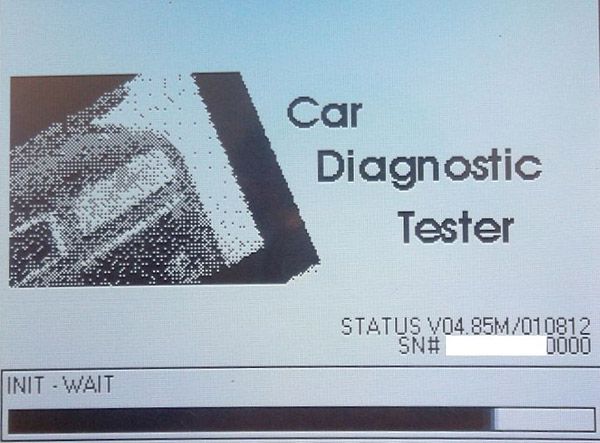
DIGIPROG 3 Screen Picture Display:
Important Tips for Using Digiprog 3:
Always connect the Eeprom to the ST01 or ST04 before you connect to the DigiProg this will avoid Electro static feedback (ESD).
Never solder the connections whilst the lead is connected to the programmer, this will damage the DigiProg.
Always keep your DigiProg in its case when not in Use & keep it in a dry environment at night (don’t leave it in the trunk of your car) If you are using solvents to remove lacquers’ from Eeprom’s ensure that they are cleaned completely as the solvent can damage the clips.
Digiprog 3 Menu:
1. EEPROM menu
The first option on the main menu is the Eeprom menu. Reading, writing and saving Eeprom information is all done using this menu. A more detailed guide to using this menu follows later on in the introduction.
2. CAR/TRUCK menu
This is the menu you will use for correcting and reprogramming vehicles. Manufacturers are set out in alphabetical order and models of vehicles are set out in a simple sub-menu format.
3. Motorcycle Menu
This menu is the same as the CAR/TRUCK menu but is used for reprogramming motorcycles.
4. Special Functions Menu
The special functions menu is for use only by official DigiProg dealers.
5. Setup Menu
This menu is where settings on your DigiProg can be changed. Language, password, brightness, volume, and the time/date can all be set and changed in this menu. You can also change whether your machine is working in kilometres or miles.
Digiprog 3 Other Features:
Service interval adjustments and settings
Assyst processing
Fault memory read-erase
EEPROM programmer
Integrated PC communicationUsing the EEPROM menu
On some of the vehicles you will come across, an eight pin Eeprom chip will be used to store the vehicle data. These chips hold vital information from the vehicle such as ignition and immobiliser codes. Loss of this information could result in anything from minor faults, to major faults involving the vehicle not starting and having to be taken to the main dealer. This is why it is very important to read and save the original information from the Eeprom before programming, this way if any errors do occur you can always return to the point you started.
The process of reading and saving this information is very simple. The Eeprom chip itself will have a mask number printed across the top of it, for example a widely used chip is a 93C46. You can connect the chip to your DigiProg by using adaptor ST01 or ST04. Most chips are surface mount eeproms which will use ST01, but the larger DIL chips will use ST04.
Digiprog 3 Description:
Digiprog III is the worldwide leader in the production and marketing of digital speed programming and correction software. Our state of the art techniques are continuously kept up to date and our quality standards are second to none, experts in vehicle techniques, EDP machine control as well as our measurement technology has years of experience in the field of digital vehicle engineering and constantly strive to stay ahead of the competition in there field of expertise.
Package list:
1pc x Digiprog3 Main Unit
1pc x OBD2 Cable
1set x Cables and Adapters
The power-on password is "1":

DIGIPROG 3 Screen Picture Display:





![[Full Version] KT200 ECU Programmer Master Version Support OBD BOOT BDM JTAG & ECU Maintenance/ DTC Code Removal With Free Damaos](/upload/pro/kt200-ecu-programmer-master-full-version-200.jpg)
